A few people have asked how I got the screenshots. The process is pretty simple. The installation is taking place on either /dev/ttyv0, or ttyv1. Like FreeBSD, one can use the alt and F keys to open other virtual terminals. So, using, say alt+F3, I open up another virtual terminal. I then type
vidcontrol -p < /dev/ttyv0 > shot1.scr |
I continue to do that for each screen shot--I think there are 18 in this article. When done, I scp'd them over to a FreeBSD box, before rebooting.
On the FreeBSD box, I installed the port /usr/ports/graphics/scr2png. After that I just ran scr2png on each screenshot.
scr2png < shot1.scr > shot1.png |
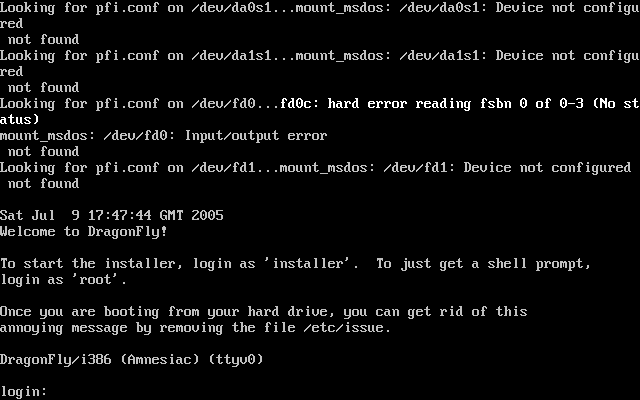
Upon booting, you see the following screen.
As you can see, it gives you the option of logging in as root to run the live CD and play around or logging in as installer to install DragonFly to your hard drive. Log in as installer. You will then see the following screen
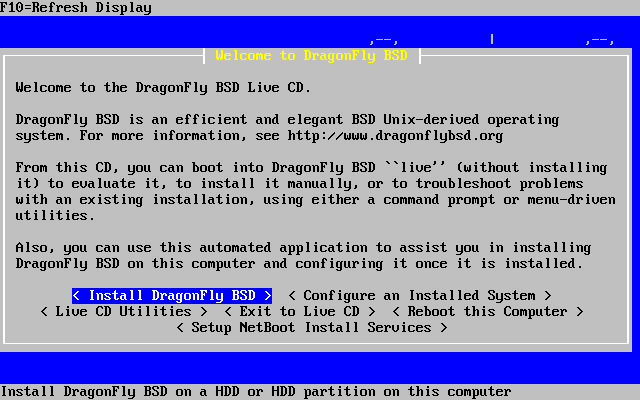
Select Install DragonFly BSD and you will see
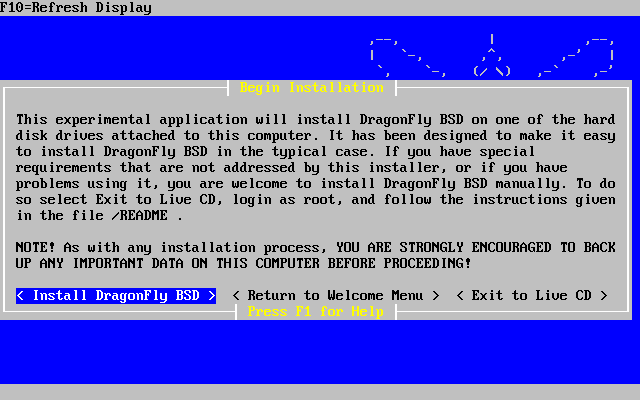
Note the warning to backup important data. Things can always go wrong and if, for example, you have another partition with important files, a mistype or other error might lose all the information on that partition. Assuming this is done, or that you aren't worried about other data on the machine, again, select install DragonFly BSD and you will be taken to the next screen.
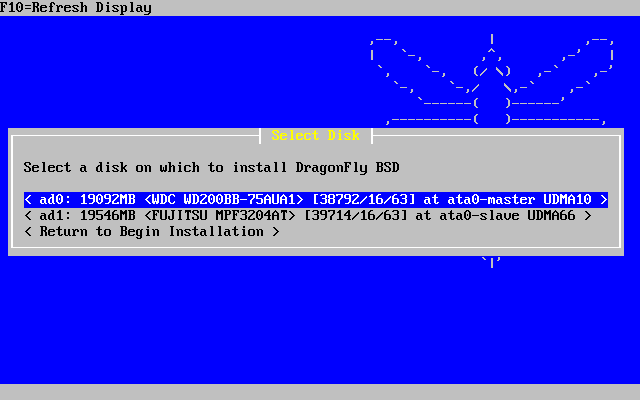
In the example, there are two disks available. In this case, I will choose the second disk, so I'll arrow down to it. (The first disk is highlighted by default in the illustration). Upon hitting enter I go to the next screen.
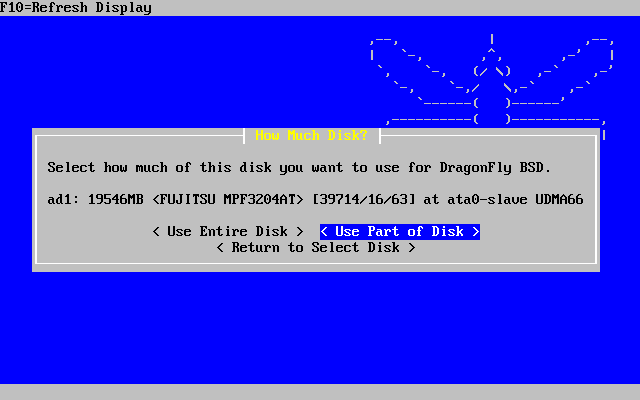
I choose to only use part of the disk and see the next screen.
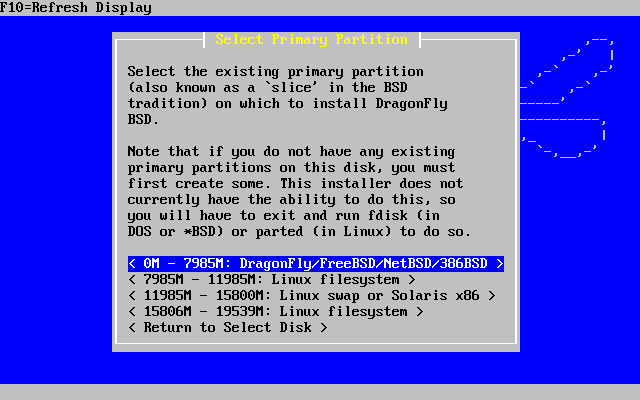
In this case, I select the DragonFly/FreeBSD/NetBSD partition. I am then confronted with the following warning.
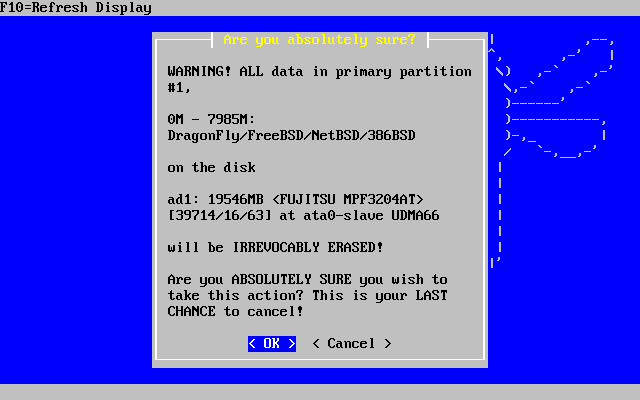
I select OK and continue.
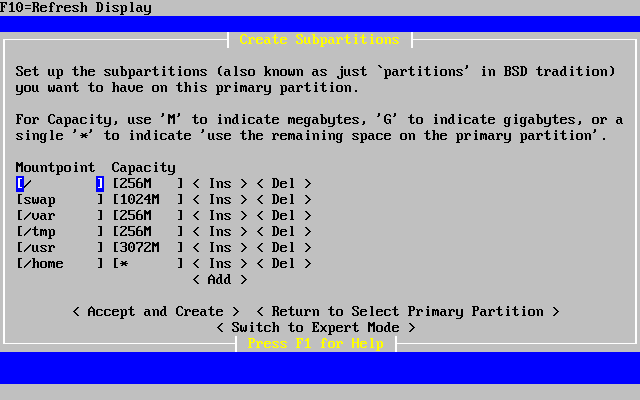
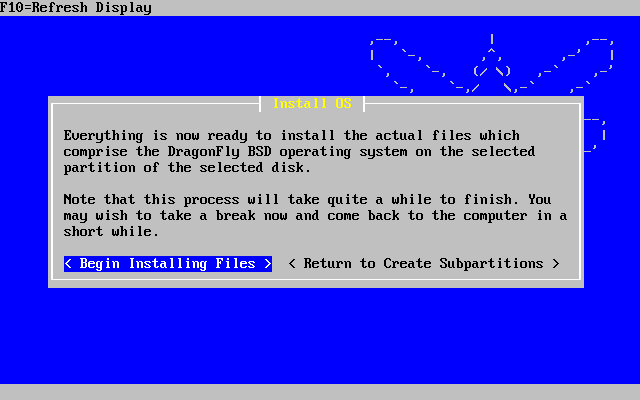
The next screen (shown above)gives the default partition scheme for this drive, which is approximately 7 gigs in size. As the screen says, the * indicates that it will use remainder of the disk. As some builds require a great deal of space, you can also delete /home and simply create it under /usr later. This will give you more space for some builds. To do that, you would choose the Del option for /home and change the predetermined size of /usr to *. Once you accept the subpartions you go to the next screen, to install the system.

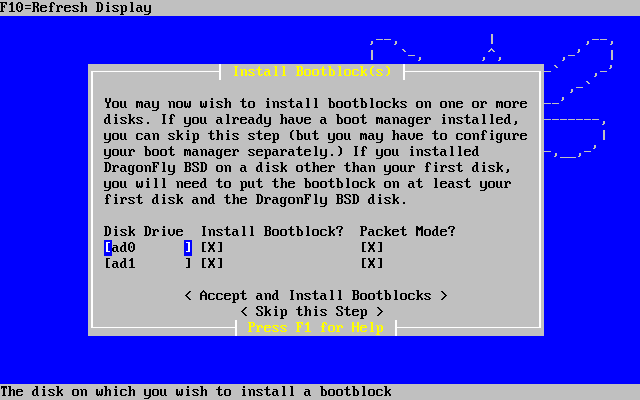
Once installation is complete, you are given an option to install bootblocks. In my case, I chose Skip This Step as I have a Linux partition and can use GRUB to boot my DragonFly system.
Note that if you are installing bootblocks and the DragonFly installation is above the 1024th cylinder (approximately 8 gigs) accept the default of having packet mode selected.
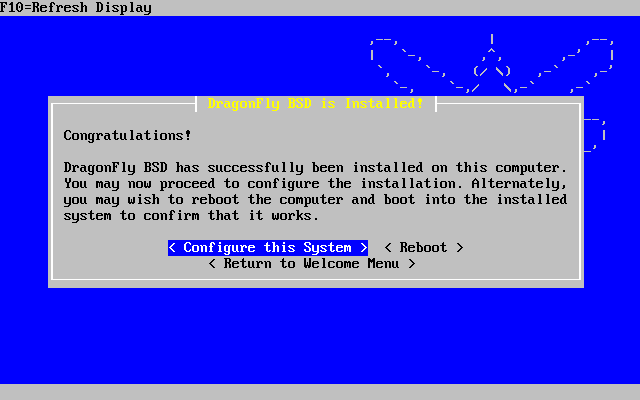
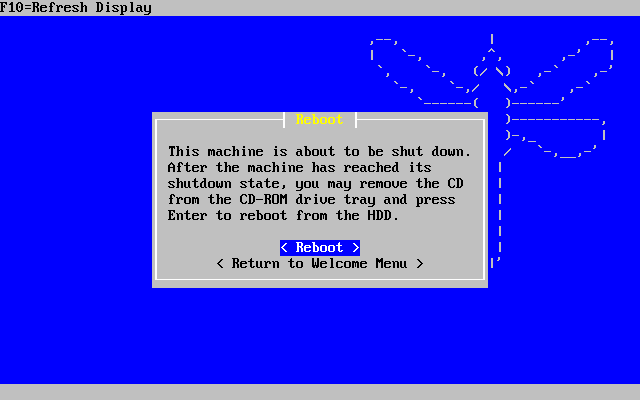
Next, I am given an option to configure the system or reboot (or return to the welcome menu, but that seems a waste of time.)
If I choose to configure the system, I see the following menu
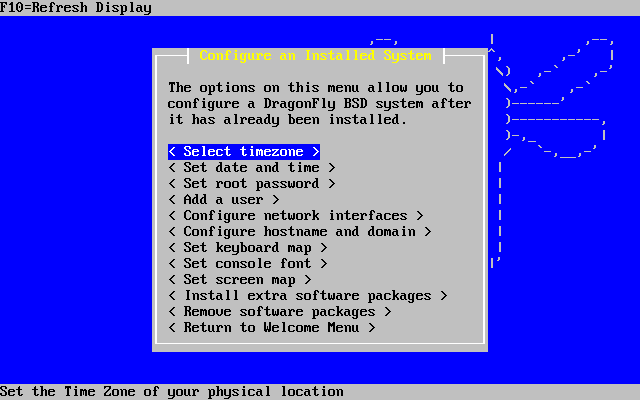

The above is fairly self-explanatory. I also set the root password and then add a user.
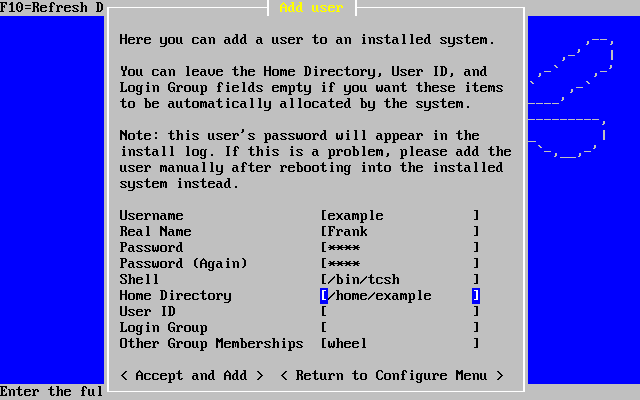
In this case I add the user to the wheel group so that he'll be able to su to root.
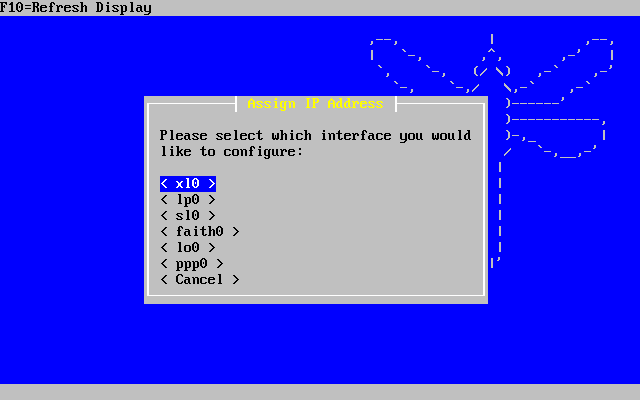
Next, I configure the network card. In this case, I have one card, xl0, a 3Com 3c90x.
I'm given the option to use DHCP or to configure it. In this case, I choose to manually configure it. I'm going to call the machine example.example.com.
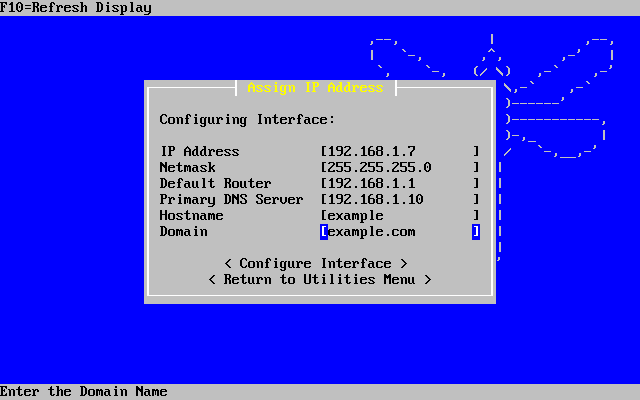
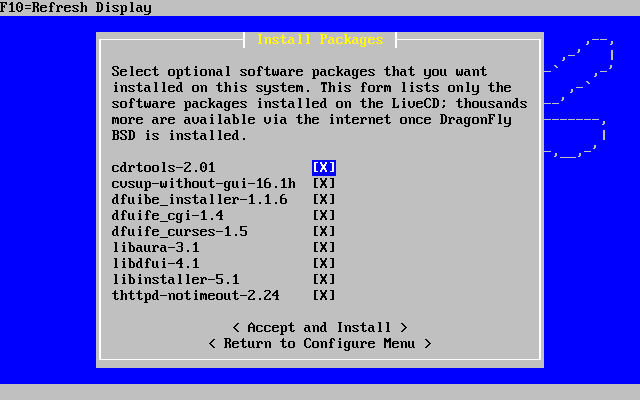
(That could have also been set in the configure hostname and domain). Next I look at the software packages that can be installed at this time. I want to keep them to a minimum since at time of writing, July 2005, DragonFly is changing from the FreeBSD ports system to the NetBSD pkgsrc system and the two don't play that well together. The shot below shows the software that is avaialable.
Once this is done, you are given the option to reboot, or once again, go back to the welcome menu.
Installation is complete
As the handbook and some of the docs on the main site are out of date at time of writing, it is recommended that you check out the wiki section on using pkgsrc. As mentioned above, it is gradually replacing the ports system on DragonFly. The wiki article can be found here. In addition I have a few tips here. The article mentions that many prebuilt pkgsrc packages are avaiable at www.gobsd.com a site which has many precompiled packages for DragonFly. The gobsd.com stop should be one of the first stops for the new DragonFly user. To keep the reader from having to fly around the web, I have a link to some useful resources here.